Tank and sensor configuration
Reading time: ~10 minutes · Execution time: ~10 minutes · Audience: anyone who just saw their controller appear online on the portal (end of guide 03)
🟢 Fundamental Guide — mandatory onboarding path. Without it, the system will not start.
🗺️ Your JoyReef Path:
- Shopping list
- Controller assembly
- Firmware + WiFi
- Tank and sensor configuration ← YOU ARE HERE
- Tasmota smart plugs
- Automations (ATO, etc.)
1. What you are about to do
The controller is currently sending its sensor readings to the portal, but the portal doesn't know what they are for. It has a "DS18B20" temperature, four digital inputs "IN1", "IN2", "IN3", "IN4" — but it doesn't know which temperature sensor it is (Tank water? Top-off water?) nor which float switch is measuring what (Sump level? ATO level? Safety level?).
In this guide, you will do 3 things, all from the portal:
- Create your first tank (a virtual entity that groups all devices and data for that reef)
- Associate the controller with the tank (so its data flows there)
- Assign a "role" to each sensor (so the portal understands who is who)
At the end, the dashboard will be populated with your live data.
2. Create your first tank
A "tank" in the portal represents one of your aquariums. If you have more than one (e.g., reef + freshwater, or two reefs), you can create several and keep them separate.
Step 1: go to the Tanks page
From the left menu (sidebar), click on Config → Tanks.
The page is empty — this is normal, you haven't created any yet.
Step 2: create a new tank
- Click on the "New tank" button in the top right
- Fill out the form: - Name: give your tank a name (e.g., "Living Room Reef Tank", "200-liter Sump", whatever you like) - Notes: optional, leave empty if you have nothing to write - Maximum and minimum critical temperature: leave them empty for now, you will configure them later when you want to set up alarms
- Click Save
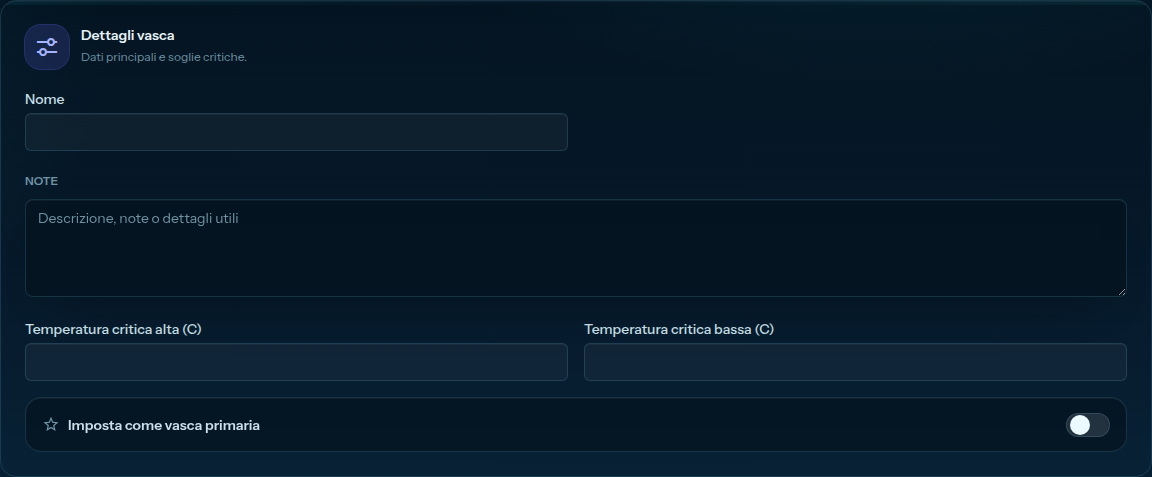
💡 Primary tank: if this is your first tank, it is automatically set as the "primary tank" (the one you see on the dashboard). You don't need to check any boxes. If you have more than one in the future, you can choose which one is primary from the top menu of the dashboard.
3. Associate the controller with the tank and assign sensor roles
Everything on a single portal page: Config → Devices → your controller.
Step 1: open the controller
- Sidebar → Config → Devices
- Find your controller in the list (name
joyreef-XXXXXX) - Click on it to open the edit page
Step 2: associate the controller with the tank
At the top of the page, you will see a Tank field:
- Open the dropdown menu
- Select the tank created in section 2 (e.g., "Living Room Reef Tank")
- (Optional) Device name: if you want, you can rename the controller to something more descriptive (e.g., "Main Controller", "Sump Control Unit"). The name
joyreef-XXXXXXalways remains as the technical identifier, but the dashboard display will show the name you give it here.
Step 3: assign sensor roles
Scroll down the page to the Sensor assignments (or "Sensor mapping") section. You will see 5 boxes:
| Box | Physical Sensor | Role to assign (typical example) |
|---|---|---|
| Temperature | DS18B20 probe connected to D5 |
Tank water |
| IN1 | Float switch #1 (connected to D6) |
ATO operating level |
| IN2 | Float switch #2 (connected to D7) |
Sump - Maximum level (ATO safety) |
| IN3 | Float switch #3 (connected to D1) |
Water change - Low level |
| IN4 | Float switch #4 (connected to D2) |
Water change - High level |
For each of the 5 boxes:
- Open the dropdown menu
- Select the role that the sensor plays in your tank
💡 Have fewer than 4 float switches? If you have only 2 or 3 connected, leave the unused boxes on "No function" — the system will ignore them.
💡 What does "role" mean? You are telling the portal "this sensor is used to measure that thing." Without a role, the sensor continues to send data, but the portal doesn't know what to do with it (for example, it cannot activate a top-off automation if it doesn't know which float switch is the "ATO operating level").

Step 4: save
At the bottom of the page, click Save (or Update). You will see a green confirmation message.
4. Verify the dashboard
Go back to the Dashboard from the left menu. Within a few seconds, everything should be populated:
- Current Temperature (e.g.,
25.4 °C) with historical chart - Sump levels and/or ATO levels with the names of the roles you assigned
- The time of the last reading received
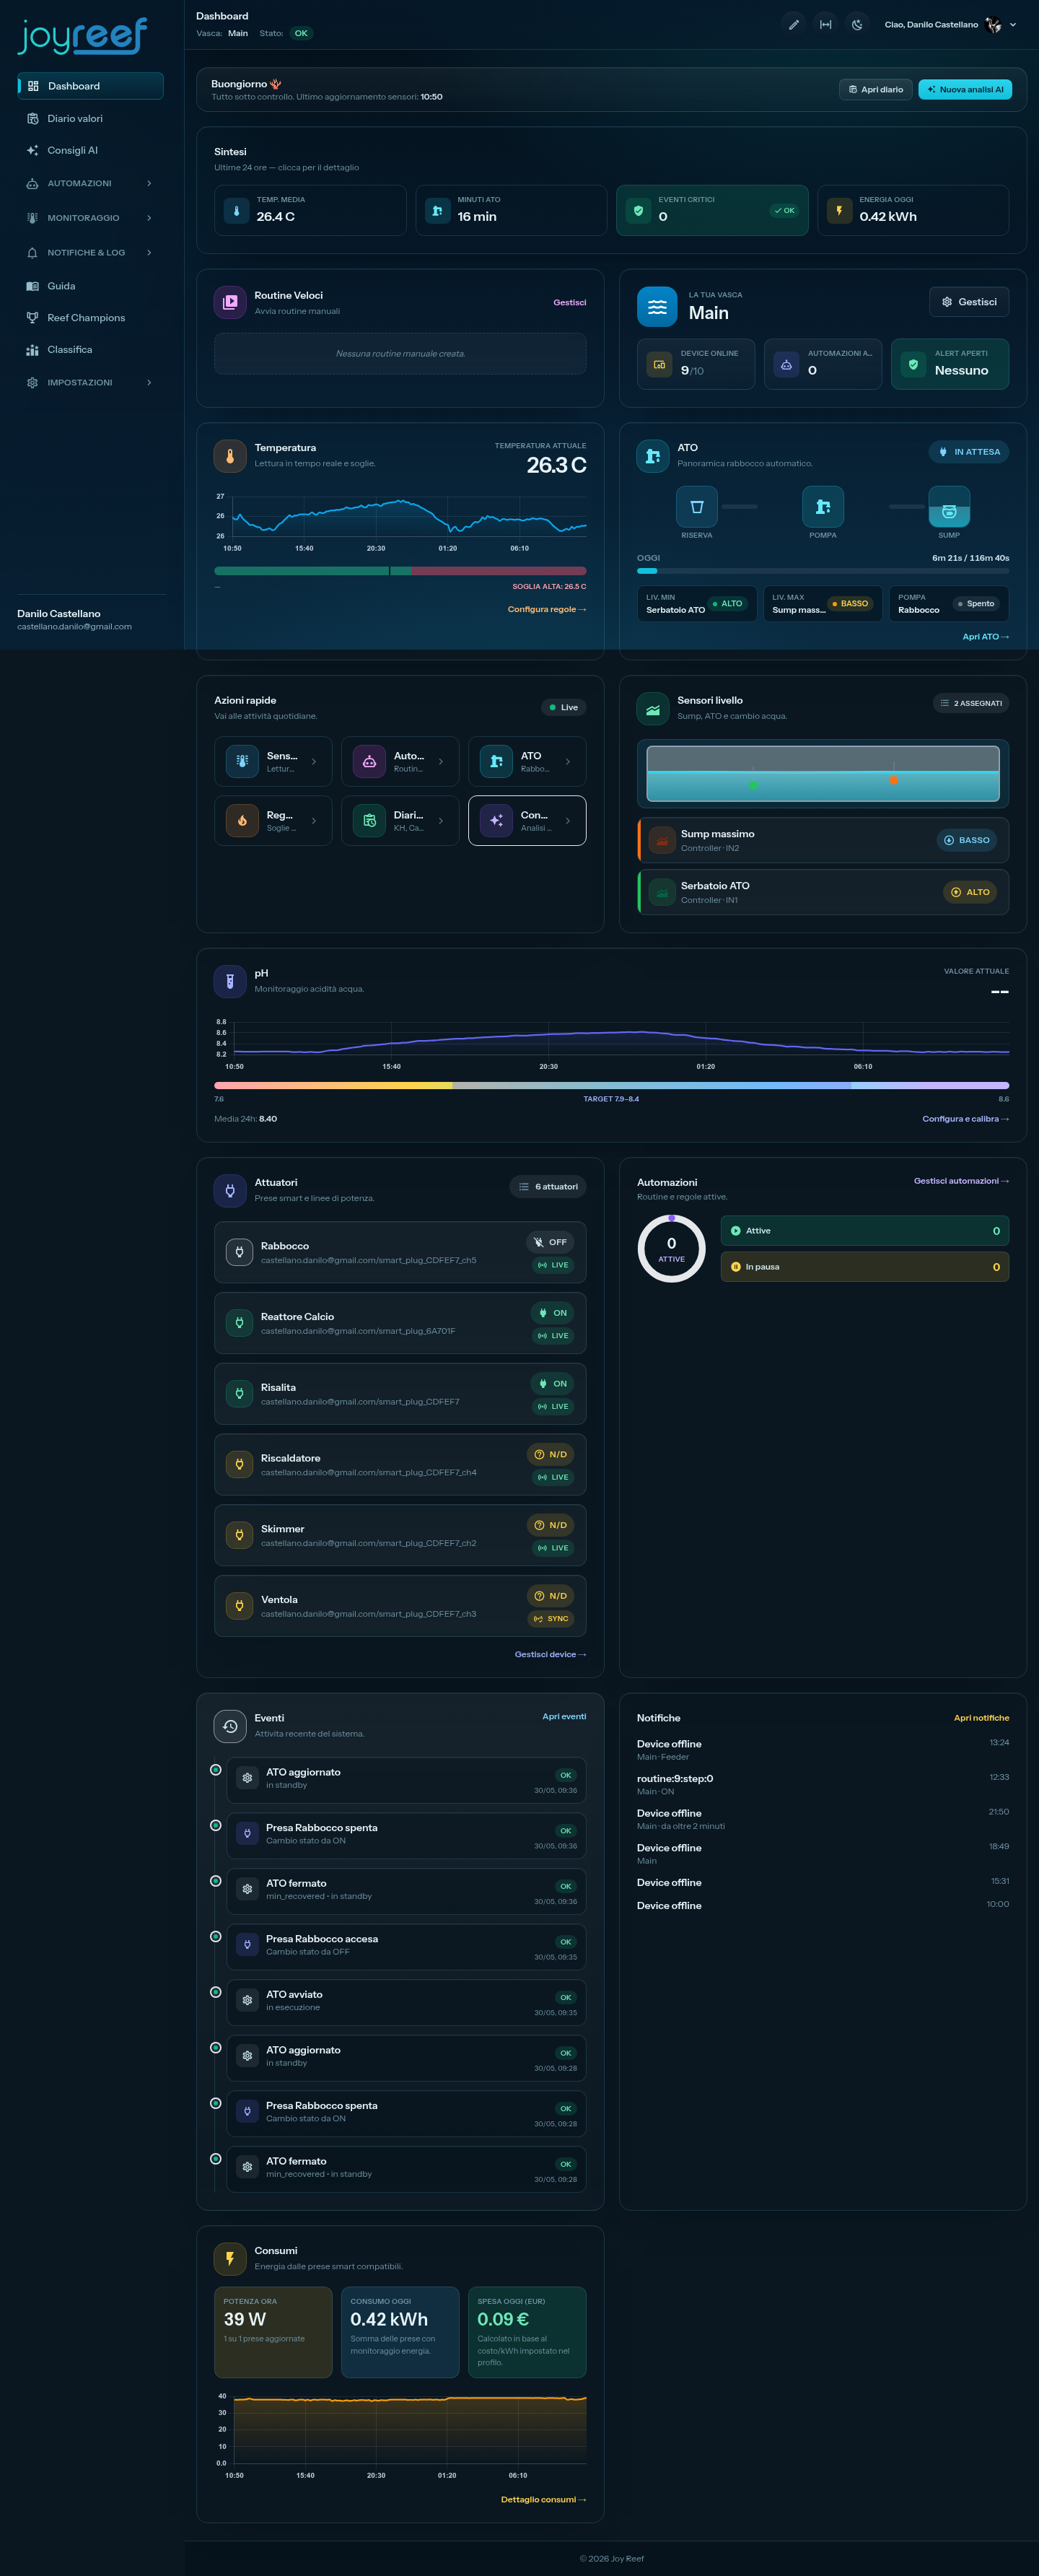
What you can see already
Even without configuring anything else, the portal is already:
- Recording temperature data every minute — go to Sensors → Temperature to see the historical chart
- Tracking float switch states — go to Sensors to see if they are active (touched by water) or not
- Notifying you via email when the controller goes offline (if the connection is interrupted for too long)
If something isn't right
| Symptom | Probable cause |
|---|---|
| Empty dashboard | You forgot to select the primary tank, or the controller is not sending data. Check that the display still shows WiFi: OK / MQTT: OK |
Temperature shows -127 °C or "Data not available" |
The DS18B20 probe is not responding. Almost always it's the missing pull-up resistor (see section 5 of guide 02), or a probe wire loose in the terminal |
| Float switches all "OFF" | For now, this is normal if you haven't put them in water yet. Try lifting them by hand to simulate the level — you should see the state change on the dashboard within 1-2 seconds |
| A role widget does not appear | You probably haven't assigned any sensor to that role. Go back to Devices → your controller and check the assignments |
5. You've finished basic configuration!
🎉 The system is currently:
- ✅ Reading your tank's temperature
- ✅ Monitoring water levels
- ✅ Recording everything in the historical chart
- ✅ Ready to alert you if something goes wrong
If monitoring only is enough for you (seeing temperature and levels remotely, receiving email alarms), you're done: your controller is operational and you can close these guides. You leave it plugged in and it does its job 24/7.
If you want to automate the tank
To make it do something when a sensor reaches a certain threshold — for example, turn on the top-off pump when the level drops, or turn off the heater if the temperature rises too high — you need to add Tasmota smart plugs. They are the "muscle" of the system, allowing the controller to turn 230 V devices on and off in total safety.
📖 Guide 05 — Configure Tasmota smart plugs (~15 min · only necessary if you bought the plugs)
After configuring the plugs, subsequent guides teach you how to set up individual automations:
- 📖 Guide 06 — Automatic Top-Off (ATO)
- 📖 Guide 07 — Alarms and temperature safety
- 📖 Guide 08 — Scheduled water change
- 📖 Guide 09 — Custom automations (any sensor → any plug)
Happy reefing!
JoyReef Guide · v1.0 · Questions? Write to us at supporto@joy-reef.com